Ingredients:
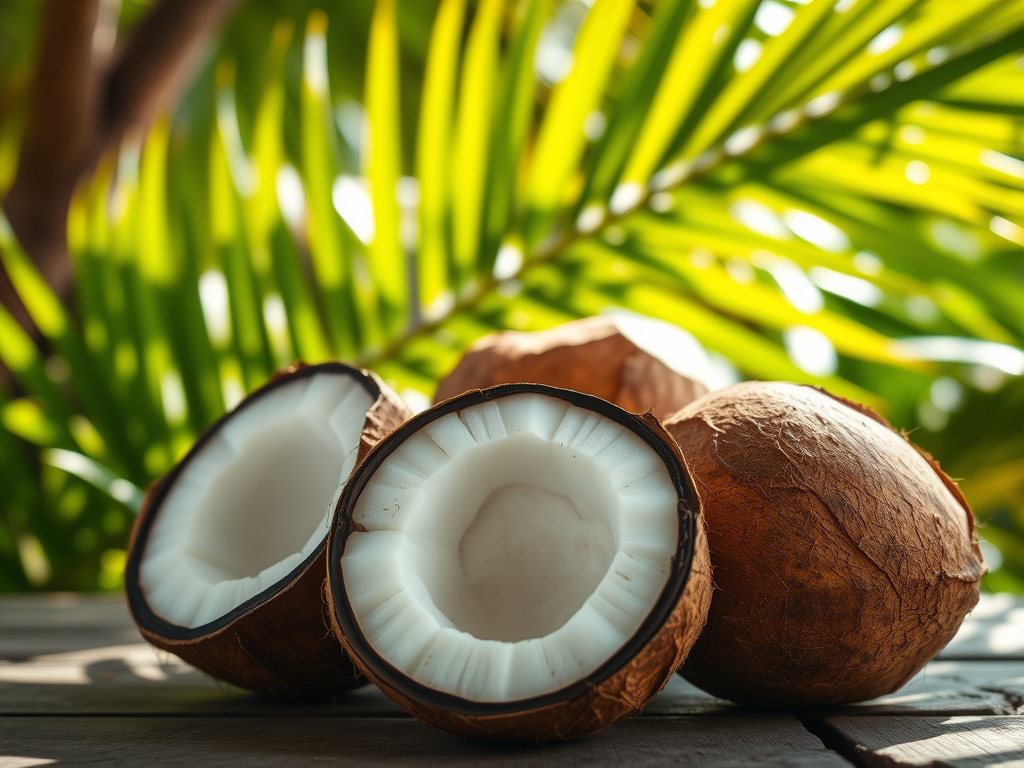
- 1 cup coconut milk (canned or homemade)
- 1/2 cup coconut oil
- 1/2 cup shea butter (or another carrier oil like almond or jojoba oil)
- 1 tablespoon beeswax (optional, for a thicker lotion)
- 10-15 drops of essential oil (e.g., lavender, vanilla, or your favorite scent)
- 1 teaspoon vitamin E oil (optional, for added nourishment)
Equipment:
- Double boiler or a heatproof bowl over simmering water
- Whisk or hand mixer
- Glass jar or lotion pump for storage
- Measuring cups and spoons
Instructions:
- Melt the Base Ingredients: In a double boiler, combine the coconut oil, shea butter, and beeswax (if using). Heat over low to medium heat until melted, stirring occasionally.
- Add Coconut Milk: Remove the mixture from heat and allow it to cool slightly. Gradually whisk in the coconut milk until fully combined. If you prefer a thicker lotion, you can use less coconut milk.
- Incorporate Essential Oils: Add your chosen essential oils and vitamin E oil (if using) to the mixture. Stir well to combine.
- Emulsify the Mixture: To achieve a creamy consistency, use a hand mixer or whisk to blend the lotion for about 5-10 minutes. This will help incorporate air and create a light, fluffy texture.
- 5. Cool and Store:
– Once the mixture is well combined and has reached a thicker consistency, transfer it to a clean glass jar or lotion pump. Allow it to cool completely before sealing. - Use and Enjoy: Your homemade coconut milk lotion is now ready to use! Apply it to your skin as needed for hydration and nourishment. Store in a cool, dry place and use within a few months.
### Tips:
- If you prefer a lighter lotion, you can omit the beeswax.
- For a more whipped texture, blend on high speed for longer once it cools slightly.
- Customize the scent by experimenting with different essential oils.